
Girls' Frontline 2: Exilium/Best Teams
Girls' Frontline 2: Exilium Best Teams
GFL2 is comp-driven — you build around an element (Burn, Hydro, Corrosion, Freeze), each with its own carry + support engine. Burn and Hydro are the strongest. These cores assume some investment (V-dupes + weapon); a doll works at V0 but hits its rated level with dupes.
SExilium Warfare — PvPExilium Warfare · asynchronous ranked PvP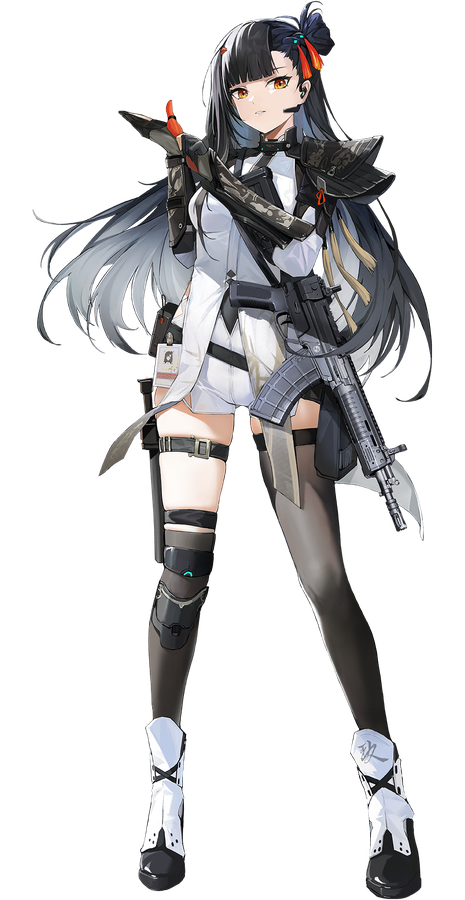 Qiongjiu
 Springfield
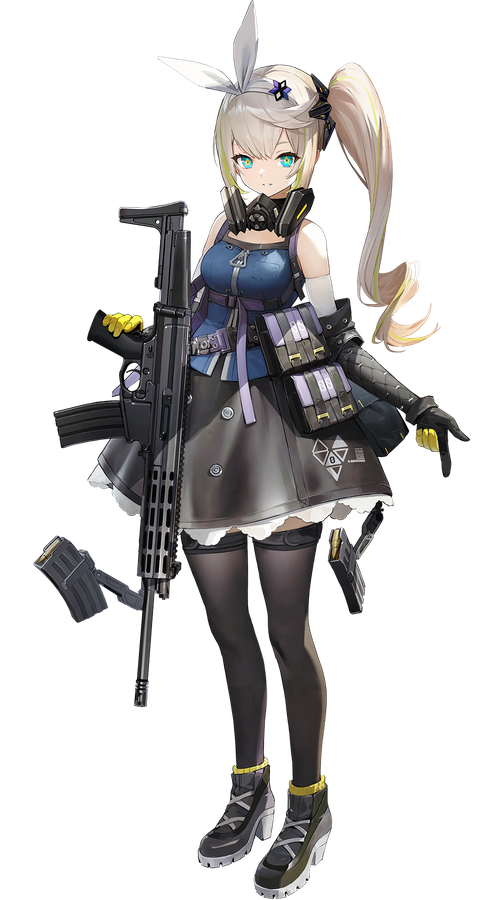
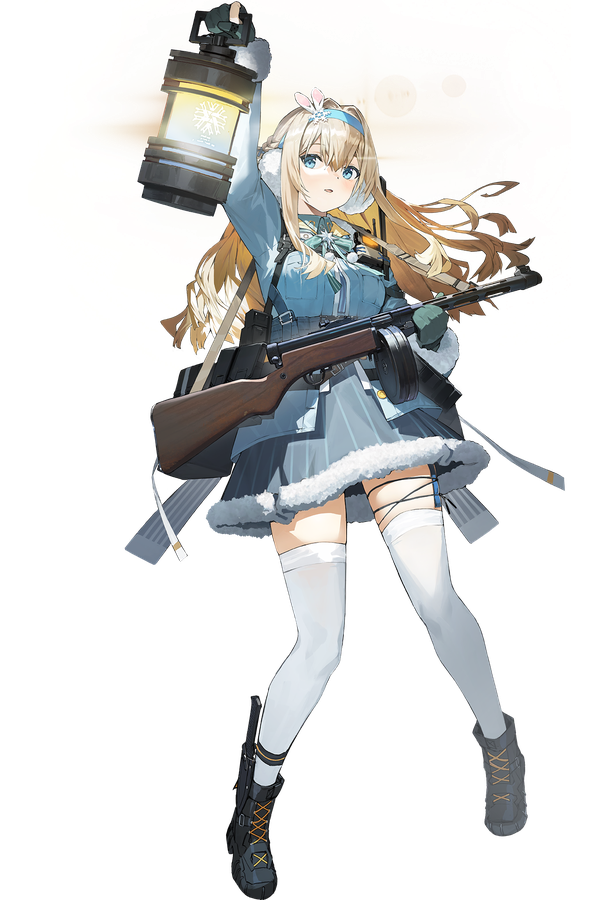 Suomi
Suomi
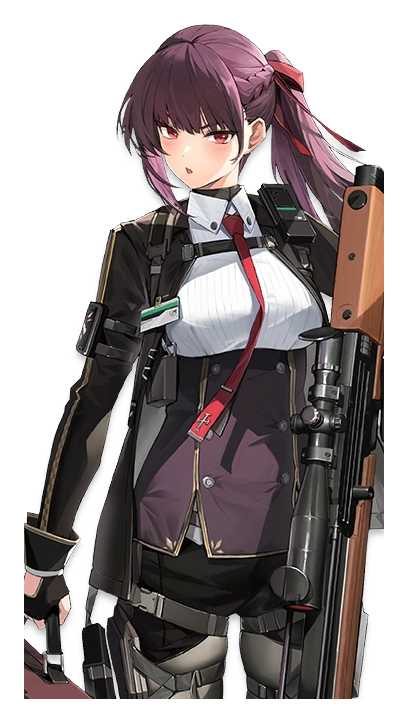 Makiatto
GFL2 PvP is asynchronous — you set a defence the AI plays and attack others' defences. It rewards dolls that are strong unpiloted, passive value (shields, buffs, follow-ups), and turn-one burst that removes a threat before it acts.
Full pick list & why
- Qiongjiu · DPSFollow-up burst that deletes a priority target in the opening exchange; standard-banner, so every roster has herRecommended build:Golden Melody
Charging — Skill · Charging: Increase damage dealt by 10%. When gaining buffs, increase damage dealt by the next support attack by 10%, stacking up to 2 times. Imprint Boost · Qiongjiu — Increase damage dealt to ELIDs by 2.5%. If the target is not protected by Cover, increase it by an additional 2.5%. Stats · Attack 369, Attack Boost 15%
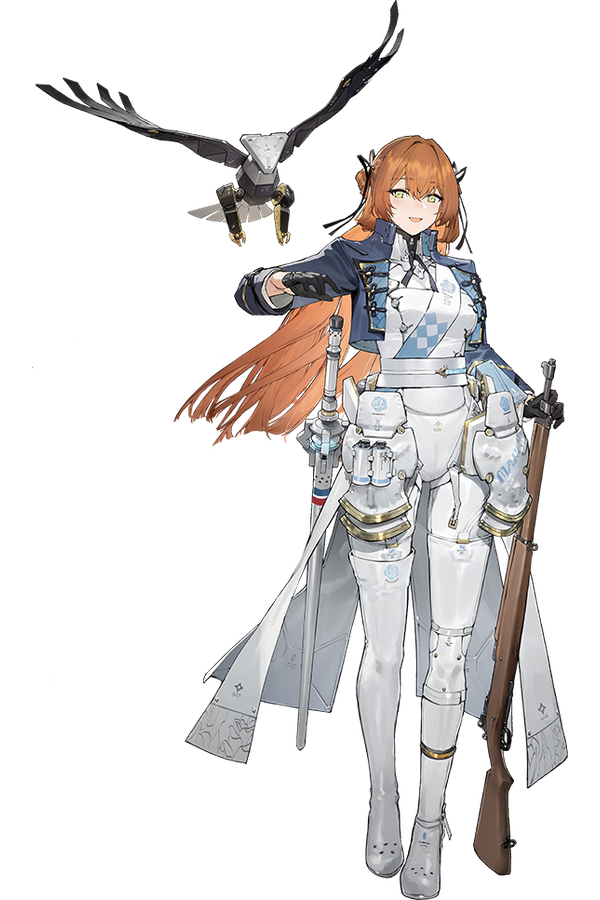
Full item page → - Springfield · SupportOut-of-the-box party-wide tankiness plus the Confectance Index that fuels extra actions — she lets a defence out-value the attackerRecommended build:Radiance
Shared Purpose — Skill · Shared Purpose: Hydro damage dealt by all allied units is increased by 5%. This unit's Max HP is increased by 15%. When actively healing a target, applies Attack Up II to the target for 2 turns. Imprint Boost · Springfield — Damage against targets with Hydro debuffs is increased by 2.5%. Damage against Sycca Technologies units is increased by 2.5%. Stats · Attack 320, Attack Boost 15%
Full item page → - Suomi · SupportTeam-wide shields large enough that the enemy AI wastes its opening burst on nothingRecommended build:Unspoken Calling
Dense Protection — Skill · Dense Protection: Freeze damage dealt by all allied units is increased by 10%. The value of applied Shield is increased by 10%. If the user's stability index is greater than 0 before using the Ultimate skill, the value of applied Shield is increased by another 10%. Imprint Boost · Suomi — Increase damage dealt to Marley Thermal Power Plant by 2.5%; if the target has Frigid, increase the damage dealt by an additional 2.5%. Stats · Attack 313, Attack Boost 15%
Full item page → - Makiatto · DPSSelf-sufficient long-range single-target — snipes the enemy carry from safety on turn oneRecommended build:Bittersweet Caramel
Art of Eradication — Skill · Art of Eradication: Increase Freeze damage dealt by 10%. For every 4 instances of damage dealt outside of own turn, increase damage dealt by the next active attack by 10%. Imprint Boost · Makiatto — Increase damage dealt to Paradeus by 2.5%. If the target has Frozen, increase it by an additional 2.5%. Stats · Attack 390, Crit DMG 25%
Full item page →
- Defence is AI-played, so favour dolls strong unpiloted (Makiatto, Qiongjiu follow-ups) and passive value (shields, buffs) over precise manual combos.
- On offence you play manually — bait the enemy defence forward, then focus the doll that threatens you most.
- Turn order decides the opening exchange; a faster squad that acts first often wins it outright, so check speed tuning before locking a defence.
- Klukai is the alternative burst carry if you'd rather threaten the whole enemy back line than one target.
Flex / subs: Klukai for AoE pressure instead of Makiatto's single-target snipe · Vector in place of Springfield for offensive follow-ups on defence · Sabrina for a tankier front that counterattacks the attacking player
ABurn teamCampaign · bossing · expansion drillsQiongjiu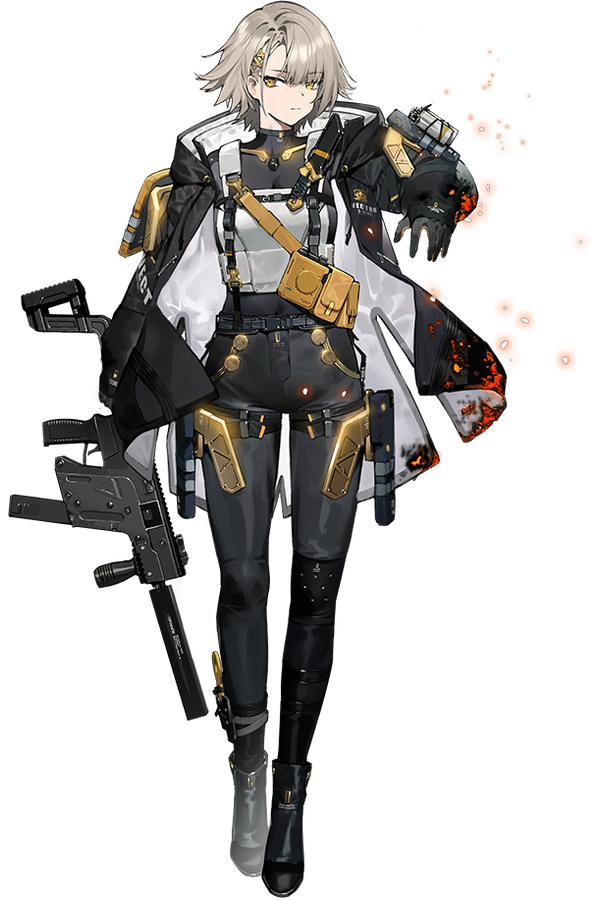 Vector
 Sharkry
 Healer
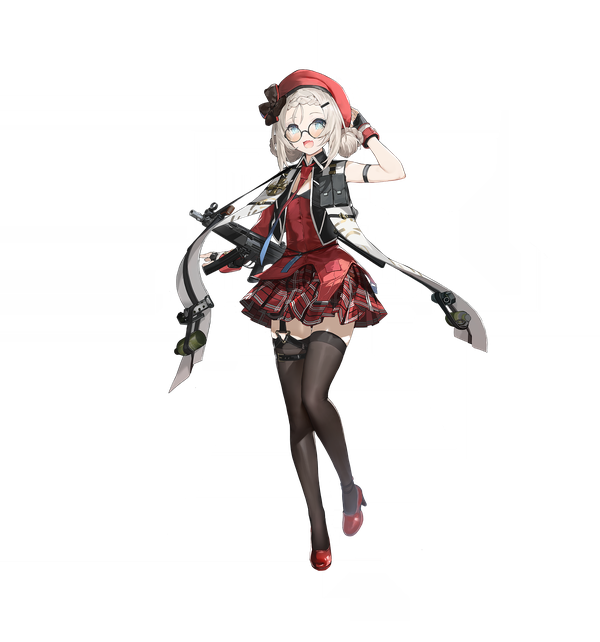 Frontline
 Burn×5
The dominant GFL2 team — a follow-up / targeted-damage engine that excels at both single-target and AoE clearing. Qiongjiu + Vector is the core; everything else supports the overburn chain.
Full pick list & why
- Qiongjiu · DPSThe glue — universal, huge follow-up damage, standard banner so everyone has her. Handles all content in any comp that can feed her action supportsRecommended build:Golden Melody
Charging — Skill · Charging: Increase damage dealt by 10%. When gaining buffs, increase damage dealt by the next support attack by 10%, stacking up to 2 times. Imprint Boost · Qiongjiu — Increase damage dealt to ELIDs by 2.5%. If the target is not protected by Cover, increase it by an additional 2.5%. Stats · Attack 369, Attack Boost 15%
Full item page → - Vector · SupportThe best Burn support, no competition — follow-ups, targeted damage, a map-wide napalm strike, and a team cleanse at B2. Wants her first two dupesRecommended build:Banshee's Whisper
Mournful Elegy — Skill · Mournful Elegy: Prior to an allied unit's attack, if the target has any Burn debuffs, the damage dealt increases by 10%; if Burn damage is dealt, increases by another 10%. If the target has Overheat Combustion, damage dealt by targeted Support Attacks increases by 5%. Imprint Boost · Vector — Damage dealt to URNC units is increased by 2.5%. If the target has any Burn debuffs, this is further increased by 2.5%. Stats · Attack 348, Attack Boost 15%
Full item page → - Sharkry / Qiuhua · DPSThe damage — Sharkry is the best bang-for-buck (SR, easy V6, tops charts with any rifle); Qiuhua is the higher ceiling if you have her
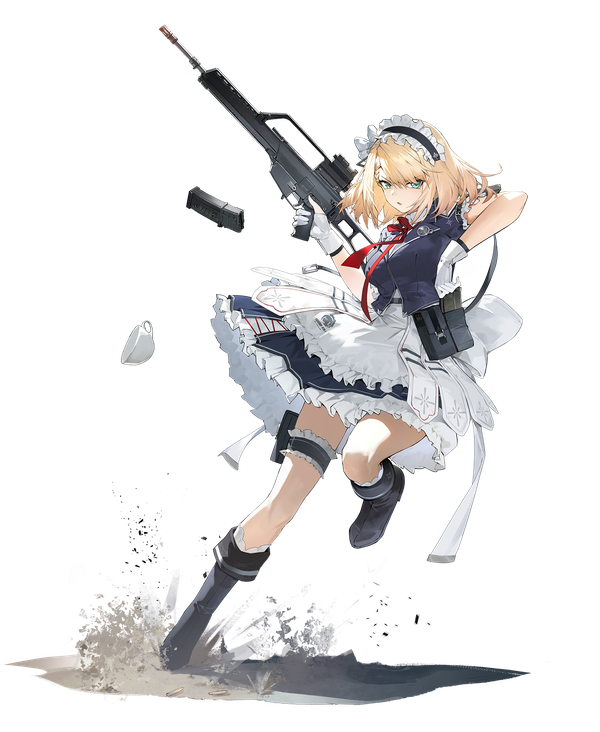
- Healer · SupportCentaureissi (Blazing Assault + solid healing, fits any comp) or Ksenia (bigger heals + map-wide cleanse). Burn has no Springfield-tier healer, so this slot mattersRecommended build:Maid's Rules
Sturdy Guardian — Skill · Sturdy Guardian: When healing with active skills, if the target's stability is less than 1, restores an additional 2 points of stability to them. This can trigger at most 1 time per turn. When the user's stability is full, healing and damage dealt are increased by 20%. Imprint Boost · Centaureissi — Increase damage dealt to Paradeus by 2.5%. If using a skill with a Phase Element, increase it by an additional 2.5%. Stats · Attack 320, Attack Boost 15%
Full item page → - Frontline · TankPeri — a tank with multi-hit damage that procs Qiongjiu's follow-ups and keeps your squishy DPS alive in max-difficulty drillsRecommended build:Amanita
Fatal Bullseye — Skill · Fatal Bullseye: Critical damage from basic attacks is increased by 15%. Each basic attack increases critical damage by 2%, to a maximum of 25%. Imprint Boost · Peri — Damage dealt to Sycca Technologies units is increased by 2.5%. If the target has a Burn debuff, damage is additionally increased by 2.5%. Stats · Attack 320, Attack Boost 15%
Full item page →
- The whole team feeds overburn — every non-support slot should either apply it or benefit from it.
- Sharkry's best-in-slot rifle is a standard banner (Vanetta / similar) — you don't need to pull a limited weapon for her.
- Vector can't carry a team alone (don't borrow her); Qiongjiu or Sharkry is the borrow/support slot.
- Krolik was the old overburn applier — she's been power-crept; use Qiuhua or the newer options.
Flex / subs: Qiuhua as the hyper-carry at high investment (best Fire DPS in the game) · Centaureissi and Ksenia can both run if you want double support · Sabrina for a tankier front line with cover destruction
ACorrosion & Freeze coresCampaign · non-boss clearing · single-target bossing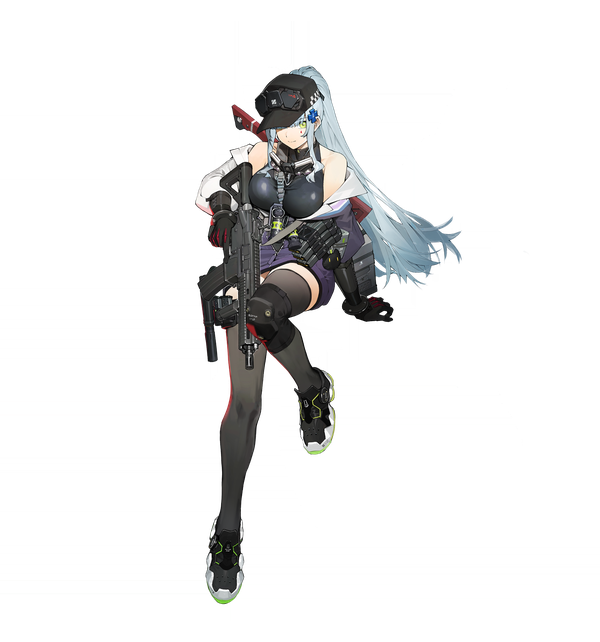 Klukai (Corrosion)
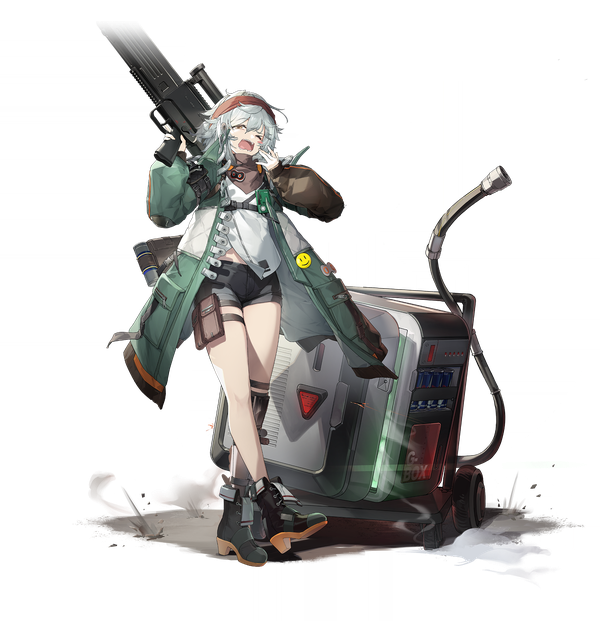 Mechty (Corrosion support)
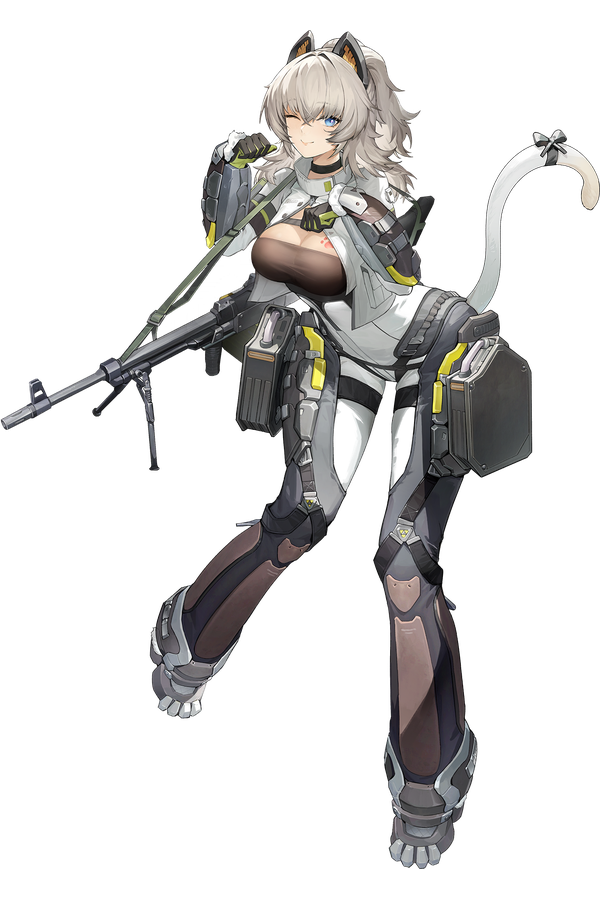 Peritya (Corrosion enabler)
 Makiatto (Freeze)Suomi (Freeze support)
 Corrosion×3
 Freeze×2
Two more strong element teams. Corrosion is the best non-boss clearing team on the back of Klukai; Freeze is a self-sufficient single-target boss killer built on Makiatto and Suomi.
Full pick list & why
- Klukai (Corrosion) · DPSOne of the strongest dolls in the game — oppressive AoE and movement clear non-boss content trivially, and from V3 she handles bosses too. Corrosion melts armourRecommended build:Skylla
Crocodile Tears — Skill · Crocodile Tears: AoE damage dealt is increased by 15%. Each time Corrosion damage is dealt, damage is increased by 2%, up to a maximum of 10%. Imprint Boost · Klukai — Damage dealt to URNC units is increased by 2.5%. If the target has Corrosion debuffs, increase damage by an additional 2.5%. Stats · Attack 390, Attack Boost 15%
Full item page → - Mechty (Corrosion support) · SupportThe only Corrosion support — great buffs/debuffs with infinite range, contributes a ton even built badly. Park her in a corner and she still worksRecommended build:Daydream
Manifold Dreamscape — Skill · Manifold Dreamscape: After performing a basic attack, Corrosion damage is increased by 15%. All Corrosion damage dealt by allied units is increased by 10%. Imprint Boost · Mechty — Damage dealt to URNC units is increased by 2.5%. If the target has Corrosion debuffs, increase damage by an additional 2.5%. Stats · Attack 341, Attack Boost 15%
Full item page → - Peritya (Corrosion enabler) · DPSA sub-DPS + AoE support that enables Klukai's strongest strategy with her support attacks — turn them Corrosive with Mechty and the team clears everythingRecommended build:Optical Illusion
Resonator — Skill · Resonator: Each time an attack successfully hits 3 targets, the damage of the next active skill is increased by 10%, with an additional increase of 10% damage for AoE skills. After dealing damage, there is a 20% chance to apply 1 debuff to the target. Imprint Boost · Peritya — Increase damage dealt to Varjagers by 2.5%. If using a basic skill, increase the damage by an additional 2.5%. Stats · Attack 348, Crit Rate 25%
Full item page → - Makiatto (Freeze) · DPSThe most self-sufficient doll in the game — her own shield, cover, and consistent high single-target damage. Shines in all content from V0Recommended build:Bittersweet Caramel
Art of Eradication — Skill · Art of Eradication: Increase Freeze damage dealt by 10%. For every 4 instances of damage dealt outside of own turn, increase damage dealt by the next active attack by 10%. Imprint Boost · Makiatto — Increase damage dealt to Paradeus by 2.5%. If the target has Frozen, increase it by an additional 2.5%. Stats · Attack 390, Crit DMG 25%
Full item page → - Suomi (Freeze support) · SupportThe best shielder in the game — team-wide shields so large your team is borderline unkillable from day one. Pairs with Makiatto for Freeze burstRecommended build:Unspoken Calling
Dense Protection — Skill · Dense Protection: Freeze damage dealt by all allied units is increased by 10%. The value of applied Shield is increased by 10%. If the user's stability index is greater than 0 before using the Ultimate skill, the value of applied Shield is increased by another 10%. Imprint Boost · Suomi — Increase damage dealt to Marley Thermal Power Plant by 2.5%; if the target has Frigid, increase the damage dealt by an additional 2.5%. Stats · Attack 313, Attack Boost 15%
Full item page →
- These are two separate teams shown together — Klukai + Mechty + Peritya is a Corrosion core; Makiatto + Suomi is a Freeze core.
- Corrosion is the best non-boss clearing team right now; it also handles bosses once Klukai is at V3+.
- Freeze fell off as a full-team meta but Makiatto + Suomi remain excellent as a self-contained boss-killing pair you can slot into other comps.
- Both teams want a healer/buffer in the remaining slots — Centaureissi and Cheeta both fit anywhere.
Flex / subs: Dushevnaya as the Freeze buffer if you're running a fuller Freeze team · Basti — 'complements Klukai very well' · Nemesis as an early-game Corrosion defense-shredder · Belka / Lotta as extra Corrosion AoE bodies
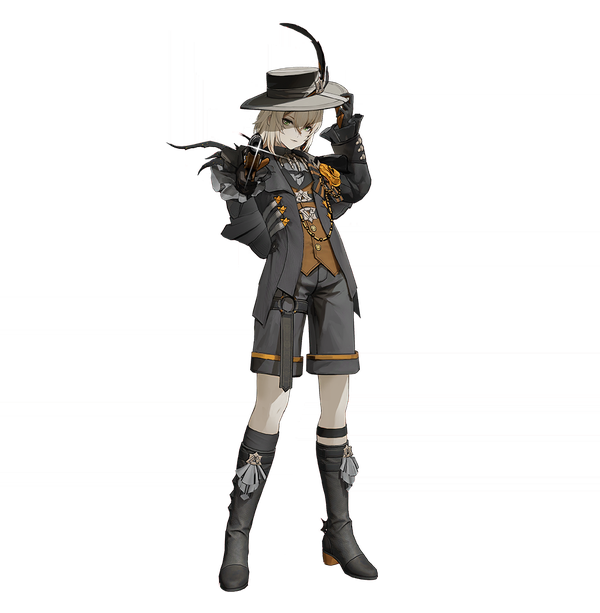
AMobility / objective teamObjective & timed maps · repositioning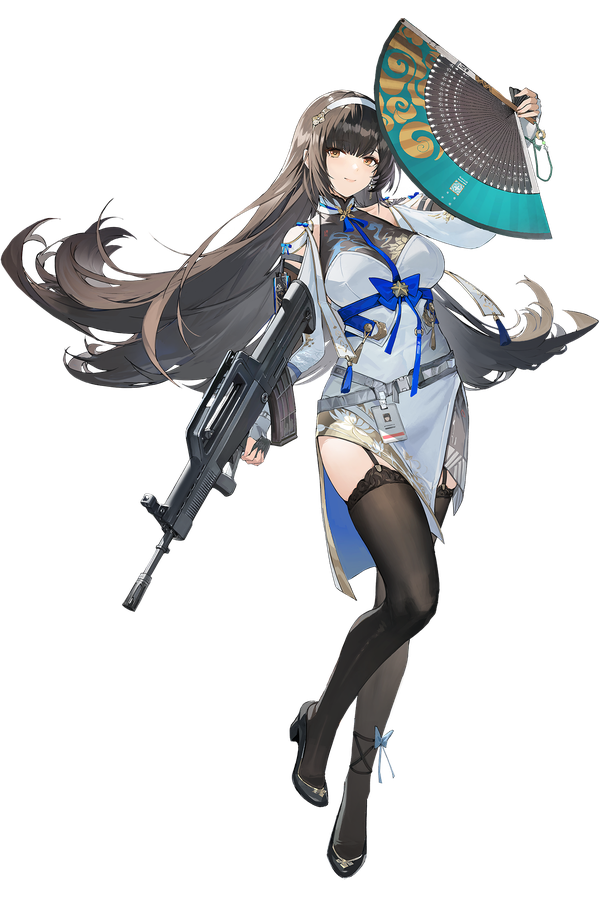 Daiyan
 Sextans
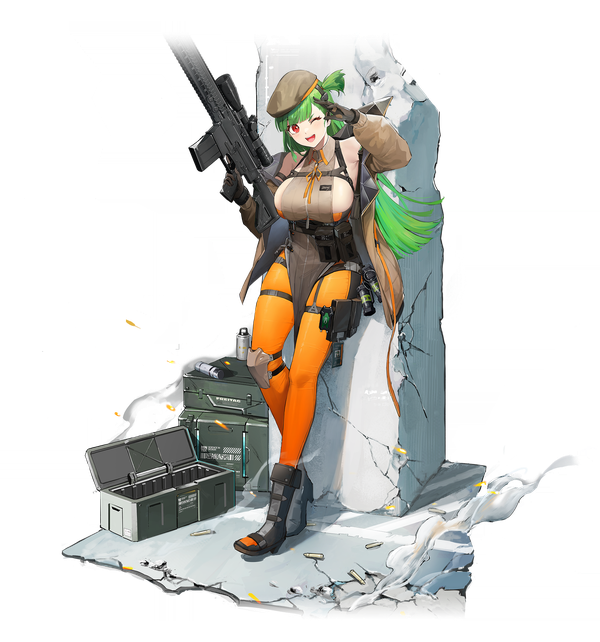 Belka
Belka SpringfieldQiongjiu
Some maps are won by reaching a point, escorting, or killing before a timer — not by out-damaging a boss. This team buys tempo with teleports, dashes and ramping mobile damage instead of raw DPS.
Full pick list & why
- Daiyan · DPSInsane mobility and ramping damage — closes distance and kills objectives fast without giving up damageRecommended build:Heavy Strings
Glissando — Skill · Glissando: Before attacking, there is a 20% chance to cleanse 1 buff from the target. For every 3 tiles moved, damage is increased by 5%, up to a maximum of 10%. Critical damage against targets not protected by Cover is increased by 10%. Imprint Boost · Daiyan — Damage to PMCs is increased by 2.5%, critical damage is increased by 5%. Stats · Attack 341, Crit DMG 25%
Full item page → - Sextans · SupportTeam-wide teleport at V2 — repositions the whole squad onto an objective or out of a kill zone in one action
- Belka · DPSHigh-mobility AoE body — covers ground and clears the adds between you and the objectiveRecommended build:Sylvan Elf
Squirrel Magic — Skill · Squirrel Magic: Every point of mobility expended before attacking increases damage dealt by 5%, up to a maximum of 10%. If the target has Negative Charge, Electric damage dealt is increased by 15%. Imprint Boost · Belka — Damage dealt to URNC units is increased by 2.5%. If the target is afflicted with any Electric debuffs, this damage is additionally increased by 2.5%. Stats · Attack 348, Crit DMG 25%
Full item page → - Springfield · SupportParty-wide sustain so an aggressive push toward the point doesn't get punishedRecommended build:Radiance
Shared Purpose — Skill · Shared Purpose: Hydro damage dealt by all allied units is increased by 5%. This unit's Max HP is increased by 15%. When actively healing a target, applies Attack Up II to the target for 2 turns. Imprint Boost · Springfield — Damage against targets with Hydro debuffs is increased by 2.5%. Damage against Sycca Technologies units is increased by 2.5%. Stats · Attack 320, Attack Boost 15%
Full item page → - Qiongjiu · DPSFollow-up damage that still lands while the team is on the moveRecommended build:Golden Melody
Charging — Skill · Charging: Increase damage dealt by 10%. When gaining buffs, increase damage dealt by the next support attack by 10%, stacking up to 2 times. Imprint Boost · Qiongjiu — Increase damage dealt to ELIDs by 2.5%. If the target is not protected by Cover, increase it by an additional 2.5%. Stats · Attack 369, Attack Boost 15%
Full item page →
- For maps scored on speed or position rather than a damage race — the picks buy tempo (teleports, dashes) over sustained DPS.
- Sextans has low personal damage; she's here for the V2 teleport utility, not her offence.
- On a straight boss-DPS check the Burn or Hydro core out-performs this — only bring it when the objective isn't 'kill the boss'.
- Springfield's presence means any Hydro DPS you've invested in slots straight into the flex without losing sustain.
Flex / subs: Faye or another mobile scout for pure objective-grab maps · Sabrina for cover destruction on maps with heavy terrain · Any Hydro DPS you've invested in, since Springfield is already here
BHydro teamCampaign · bossing · frenzy bossesSpringfield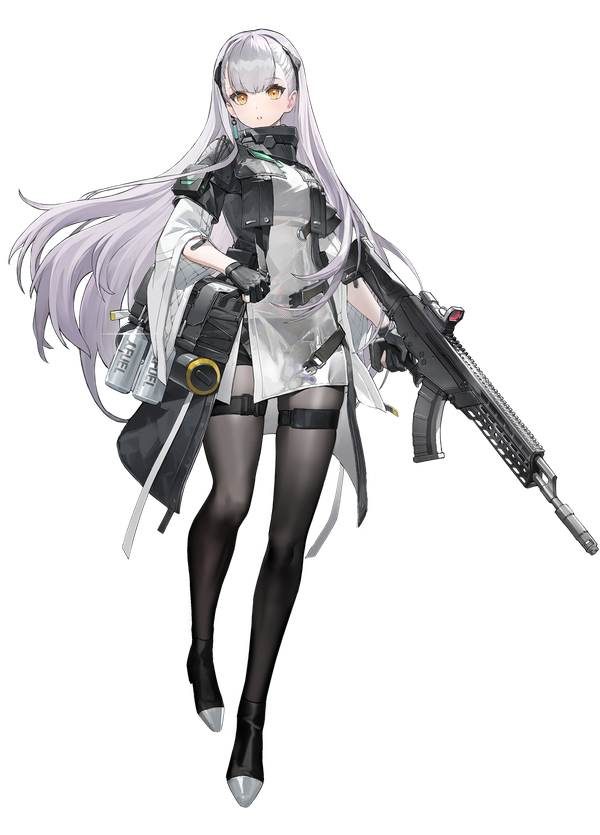 Tololo
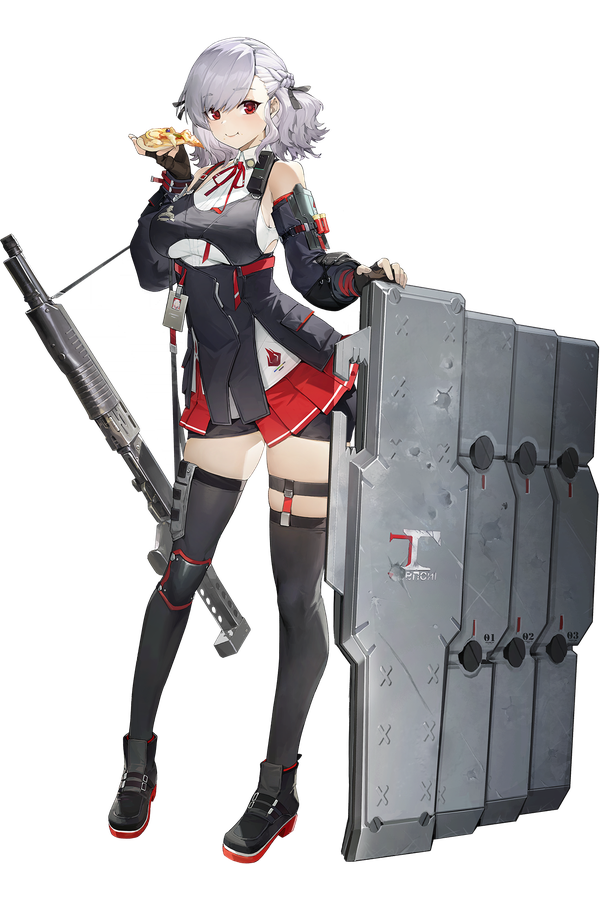 Sabrina
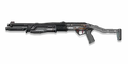 Second DPSFlex
 Hydro×3
The other top team — sustain-heavy and built around Springfield keeping everyone alive from range while amplifying Tololo's extra actions. Dominates PvE stages and boss fights.
Full pick list & why
- Springfield · SupportThe best healer in the game — turns the party into unkillable tanks out of the box, plus strong buffs and (at V6) real DPS. The cornerstoneRecommended build:Radiance
Shared Purpose — Skill · Shared Purpose: Hydro damage dealt by all allied units is increased by 5%. This unit's Max HP is increased by 15%. When actively healing a target, applies Attack Up II to the target for 2 turns. Imprint Boost · Springfield — Damage against targets with Hydro debuffs is increased by 2.5%. Damage against Sycca Technologies units is increased by 2.5%. Stats · Attack 320, Attack Boost 15%
Full item page → - Tololo · DPSThe carry — with her mod key she gets an extra turn every turn; at V2 with V1 Springfield, three actions before her turn ends. Standard SSR, so most players have herRecommended build:Planeta
Path Patrol — Skill · Path Patrol: When a kill is made or after this unit's Extra Action ends, damage dealt by active skills is increased by 4%, stacking up to 5 times. After reaching 5 stacks, gains 2 tiles of Additional Movement after an active attack. Imprint Boost · Tololo — Increases damage dealt to ELIDs by 2.5%. If this unit is at max stability, increases it by an additional 2.5%. Stats · Attack 376, Crit DMG 25%
Full item page → - Sabrina · TankOppressive AoE, cover destruction, counterattacks and buffs — a tank that also puts out nasty numbers post-mod-key with Springfield support. Free to V6 from the weekly bossRecommended build:Mezzaluna
Perfect Recipe — Skill · Perfect Recipe: During Stability Break, whenever stability is recovered, additionally restores 2 points of stability index. If stability index is above 10 points, increases damage dealt by 20%. At the end of the action, applies Attack Down I to the enemy target with the highest attack within 6 tiles for 1 turn. Imprint Boost · Sabrina — Damage dealt to Varjagers is increased by 2.5%. If the skill used is a Confectance skill, the damage is further increased by 2.5%. Stats · Attack 327, Attack Boost 15%
Full item page → - Second DPS / sub-carry · DPSDaiyan — insane mobility, ramping damage, an interception and an on-demand cleanse; a great utility sub-DPS for boss contentRecommended build:Heavy Strings
Glissando — Skill · Glissando: Before attacking, there is a 20% chance to cleanse 1 buff from the target. For every 3 tiles moved, damage is increased by 5%, up to a maximum of 10%. Critical damage against targets not protected by Cover is increased by 10%. Imprint Boost · Daiyan — Damage to PMCs is increased by 2.5%, critical damage is increased by 5%. Stats · Attack 341, Crit DMG 25%
Full item page → - Flex · FlexSextans for the team-wide teleport (V2), or a second healer / buffer the boss calls for
- Springfield generates Confectance Index to trigger extra actions — the whole team is built to abuse the action economy that creates.
- Springfield + Tololo is the non-negotiable core; the other three slots adapt to the fight.
- This team trivialises frenzy bosses because Springfield's heals keep everyone at full health through the added pressure.
- Sextans has great utility but very low damage — she's the weakest of the large Hydro roster, run her for the teleport, not the DPS.
Flex / subs: A second dedicated healer (Colphne early) if the boss hits harder than Springfield alone can cover · Any Hydro DPS you've invested in — the roster is deep · Belka as a high-mobility AoE + vulnerable-on-boss flex slot
BNew-player coreEarly game · campaign progression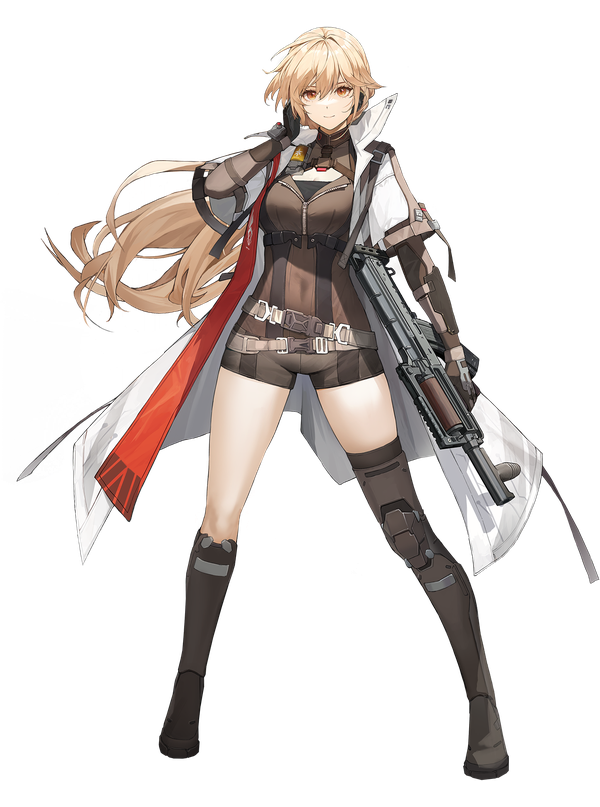 Groza
Groza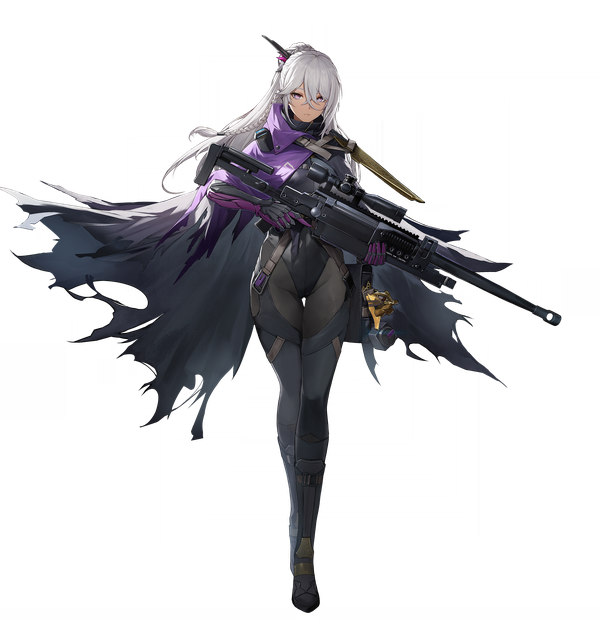 Nemesis
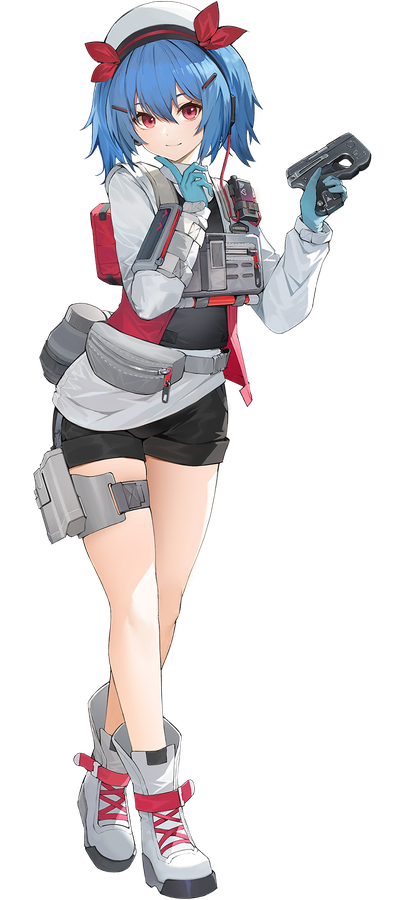 ColphneSharkryStandard SSR carry
Your starter units plus a few free / SR dolls clear the campaign fine. GFL2 is comp-driven, so pick an element to lean into (Burn or Hydro) once you have a strong SSR, and let your standard-banner and free dolls fill the rest.
Full pick list & why
- Groza · TankThe starter unit — tanky, does a bit of everything, keeps you alive while you learn. Takes any weapon / attachment. You'll bench her mid-game
- Nemesis · DPSFree defense-shredding sub-DPS — most likely your best damage dealer through the early game, and free to fully build
- Colphne · SupportA reliable free-to-play healer — great healing early, before you pull Springfield or Suomi
- Sharkry · DPSAn SR that free-to-play players get to V6 easily, and she tops damage charts with almost any rifle. Build her — she stays relevant into the endgame
- Standard SSR carry · DPSQiongjiu or Tololo — both standard-banner SSRs you'll pull sooner or later, and both are top-tier. Whichever you get first decides your first element teamRecommended build:Golden Melody
Charging — Skill · Charging: Increase damage dealt by 10%. When gaining buffs, increase damage dealt by the next support attack by 10%, stacking up to 2 times. Imprint Boost · Qiongjiu — Increase damage dealt to ELIDs by 2.5%. If the target is not protected by Cover, increase it by an additional 2.5%. Stats · Attack 369, Attack Boost 15%
Full item page →
- Redeem the codes first (Codes page) — Collapse Pieces are the pull currency.
- Don't reroll hard — GFL2's standard banner has Qiongjiu, Tololo and Sharkry, all meta, and you'll get them. If you target one limited unit, Springfield or Klukai have the biggest impact.
- Pick ONE element and build its team — spreading across Burn, Hydro and Corrosion at once leaves all three under-invested.
- Learn the fundamentals: cover halves damage and blocks crits; flanking (side/back) ignores it; the Confectance Index / action-support system rewards positioning your dolls to trigger each other.
- Save your weapon-banner pulls — see the Weapon tier list. Most dolls do fine on a standard-banner weapon; only a few limited units really need their signature.
Flex / subs: Peritya, Belka, Papasha — standard / free dolls that stay useful · Any SSR you pull — dupes matter, but a V0 meta doll beats a V6 off-meta one · Centaureissi (4-star) as a flexible healer/buffer for any comp
BFull Freeze teamFreeze single-target · frenzy bossesMakiattoSuomi Dushevnaya
 CentaureissiNemesis
Freeze×3Freeze fell off as a full-team meta, but a dedicated Freeze line still shreds single-target boss content. Makiatto is the damage, Suomi the shield wall, Dushevnaya the Freeze amplifier that makes the fuller team worth running.
Full pick list & why
- Makiatto · DPSThe highest single-target ceiling in the game and completely self-sufficient — her own shield and cover, consistent damage from V0Recommended build:Bittersweet Caramel
Art of Eradication — Skill · Art of Eradication: Increase Freeze damage dealt by 10%. For every 4 instances of damage dealt outside of own turn, increase damage dealt by the next active attack by 10%. Imprint Boost · Makiatto — Increase damage dealt to Paradeus by 2.5%. If the target has Frozen, increase it by an additional 2.5%. Stats · Attack 390, Crit DMG 25%
Full item page → - Suomi · SupportThe best shielder in the game — team-wide shields plus debuff cleanse and bonus damage; pairs with Makiatto for the Freeze burstRecommended build:Unspoken Calling
Dense Protection — Skill · Dense Protection: Freeze damage dealt by all allied units is increased by 10%. The value of applied Shield is increased by 10%. If the user's stability index is greater than 0 before using the Ultimate skill, the value of applied Shield is increased by another 10%. Imprint Boost · Suomi — Increase damage dealt to Marley Thermal Power Plant by 2.5%; if the target has Frigid, increase the damage dealt by an additional 2.5%. Stats · Attack 313, Attack Boost 15%
Full item page → - Dushevnaya · SupportThe Freeze buffer — only worth running in a fuller Freeze team, where her amp turns Makiatto's numbers up a tierRecommended build:Eulogistic Verse
Winner Takes All — Skill · Winner Takes All: When the user has Insight, increases damage dealt by 10%. Before an allied unit makes an active attack, if the target has Freeze debuffs, increases the Freeze damage dealt by 5%. If the target has Frigid, this damage increase is enhanced to 10%. Imprint Boost · Dushevnaya — Increase damage dealt to Marley Thermal Power Plant by 2.5%; if the target has Frozen, increase the damage dealt by an additional 2.5%. Stats · Attack 348, Attack Boost 15%
Full item page → - Centaureissi · SupportFlexible 4-star healer/buffer that fits any comp — covers the sustain the Freeze roster otherwise lacksRecommended build:Maid's Rules
Sturdy Guardian — Skill · Sturdy Guardian: When healing with active skills, if the target's stability is less than 1, restores an additional 2 points of stability to them. This can trigger at most 1 time per turn. When the user's stability is full, healing and damage dealt are increased by 20%. Imprint Boost · Centaureissi — Increase damage dealt to Paradeus by 2.5%. If using a skill with a Phase Element, increase it by an additional 2.5%. Stats · Attack 320, Attack Boost 15%
Full item page → - Nemesis · DPSFree defense-shredding sub-DPS — her armour break helps every damage type, Freeze included
- Freeze is no longer a top full-team archetype — this is the build for players who already invested in it or want a self-contained boss killer, not a first recommendation over Burn or Hydro.
- Makiatto + Suomi alone is the portable core; the other three slots are the 'fuller team' wrapper that makes Dushevnaya worth a slot.
- Against frenzy bosses Suomi's shields absorb the added pressure so the damage line never breaks rhythm.
- Site cross-check: Dushevnaya's Freeze-buffer role and the 'fuller Freeze team' caveat come from our own Corrosion & Freeze comp notes.
Flex / subs: Makiatto + Suomi slotted into another comp as a two-doll boss-killing pair · Colphne as the early-game healer before Centaureissi · Any invested Freeze DPS you have as a second damage body
BPhysical / stagger coreCampaign · stagger checks · off-element stagesQiongjiuPeriSabrinaNemesisColphne
Not every stage rewards an element core — some are stagger checks or resist your damage type. This physical-leaning, follow-up-driven team clears them without an elemental win condition, and every doll is standard-banner or free.
Full pick list & why
- Qiongjiu · DPSThe glue — huge follow-up damage in any comp that can feed her action supports, with no element dependencyRecommended build:Golden Melody
Charging — Skill · Charging: Increase damage dealt by 10%. When gaining buffs, increase damage dealt by the next support attack by 10%, stacking up to 2 times. Imprint Boost · Qiongjiu — Increase damage dealt to ELIDs by 2.5%. If the target is not protected by Cover, increase it by an additional 2.5%. Stats · Attack 369, Attack Boost 15%
Full item page → - Peri · TankMulti-hit tank that procs Qiongjiu's follow-ups while keeping the squishy dolls aliveRecommended build:Amanita
Fatal Bullseye — Skill · Fatal Bullseye: Critical damage from basic attacks is increased by 15%. Each basic attack increases critical damage by 2%, to a maximum of 25%. Imprint Boost · Peri — Damage dealt to Sycca Technologies units is increased by 2.5%. If the target has a Burn debuff, damage is additionally increased by 2.5%. Stats · Attack 320, Attack Boost 15%
Full item page → - Sabrina · TankOppressive AoE, cover destruction and counterattacks — a tank that also stacks stagger and puts out real numbers; free to V6 from the weekly bossRecommended build:Mezzaluna
Perfect Recipe — Skill · Perfect Recipe: During Stability Break, whenever stability is recovered, additionally restores 2 points of stability index. If stability index is above 10 points, increases damage dealt by 20%. At the end of the action, applies Attack Down I to the enemy target with the highest attack within 6 tiles for 1 turn. Imprint Boost · Sabrina — Damage dealt to Varjagers is increased by 2.5%. If the skill used is a Confectance skill, the damage is further increased by 2.5%. Stats · Attack 327, Attack Boost 15%
Full item page → - Nemesis · DPSFree armour-shred sub-DPS — most likely your best raw damage on stages that resist the element cores
- Colphne · SupportReliable free-to-play healer for the slot the offensive line doesn't cover
- Built for stages that check stagger or resist Burn/Hydro/Corrosion — the whole line applies physical hits and follow-ups instead of an elemental payoff.
- Cover halves damage and blocks crits; flanking side or back ignores it — hold aggro with Sabrina and Peri while Nemesis and Qiongjiu hit from the flank.
- Every slot is standard-banner or free, so this doubles as a no-investment backup squad for multi-team modes.
- This is a utility answer to specific stages, not a top-damage comp — for a straight boss race, bring an element core.
Flex / subs: Groza as the starter tank if you don't have Peri built · Sharkry as an SR rifle DPS that stays relevant into the endgame · Papasha or Belka as extra standard-banner bodies
BScoring endgame — second squadPeak Value Assessment · scoring modes · multi-teamTololoDaiyanSabrinaColphneSharkry
Scoring modes make you field several teams at once, so this is the viable second squad to run alongside your main element core — built from the strong dolls that core leaves on the bench, with no limited pulls spent.
Full pick list & why
- Tololo · DPSStandard SSR carry with an extra action every turn under her mod key — a top damage dealer you can run away from a full Hydro shellRecommended build:Planeta
Path Patrol — Skill · Path Patrol: When a kill is made or after this unit's Extra Action ends, damage dealt by active skills is increased by 4%, stacking up to 5 times. After reaching 5 stacks, gains 2 tiles of Additional Movement after an active attack. Imprint Boost · Tololo — Increases damage dealt to ELIDs by 2.5%. If this unit is at max stability, increases it by an additional 2.5%. Stats · Attack 376, Crit DMG 25%
Full item page → - Daiyan · DPSRamping damage, mobility, an interception and an on-demand cleanse — a self-contained sub-carry that needs no bespoke supportRecommended build:Heavy Strings
Glissando — Skill · Glissando: Before attacking, there is a 20% chance to cleanse 1 buff from the target. For every 3 tiles moved, damage is increased by 5%, up to a maximum of 10%. Critical damage against targets not protected by Cover is increased by 10%. Imprint Boost · Daiyan — Damage to PMCs is increased by 2.5%, critical damage is increased by 5%. Stats · Attack 341, Crit DMG 25%
Full item page → - Sabrina · TankAoE, cover destruction and counters; free to V6, so she's available even when your best tank is on the other teamRecommended build:Mezzaluna
Perfect Recipe — Skill · Perfect Recipe: During Stability Break, whenever stability is recovered, additionally restores 2 points of stability index. If stability index is above 10 points, increases damage dealt by 20%. At the end of the action, applies Attack Down I to the enemy target with the highest attack within 6 tiles for 1 turn. Imprint Boost · Sabrina — Damage dealt to Varjagers is increased by 2.5%. If the skill used is a Confectance skill, the damage is further increased by 2.5%. Stats · Attack 327, Attack Boost 15%
Full item page → - Colphne · SupportFree healer that keeps a second squad alive without spending your Springfield or Suomi on it
- Sharkry · DPSSR, easy V6, tops damage charts with almost any rifle — the definition of a strong bench body
- Peak Value Assessment and similar modes score across several squads, so roster depth beats one stacked team — keep Vector / Springfield / Suomi on the main core and build this from what's left.
- Tololo carries fine outside a Hydro team, and Daiyan brings her own utility, so this squad needs no imported support.
- Every doll here is standard-banner or free-to-V6 — the point is a second team that costs no limited pulls.
- Slot assignments assume your first team is the Burn or Hydro core; swap Tololo for Qiuhua if your first team already runs Hydro.
Flex / subs: Qiuhua as a higher-ceiling Burn carry if your main core is Hydro or Corrosion · Centaureissi as a flexible healer/buffer swap · Any invested SSR your first team doesn't use
loadoutgg is not affiliated with, endorsed by, or sponsored by Sunborn Network, MICA Team, or the creators of the Girls' Frontline franchise. Girls' Frontline 2: Exilium and all character names, art, and other assets referenced here are trademarks and copyrighted material of their respective owners, used for informational/fan-reference purposes. The stats, skill and ability text, and other compiled game data on these pages are loadoutgg's own work — extracted from the game's own files and official sources and rewritten in our own words. This compilation is not offered for reuse; please link to loadoutgg rather than copying or scraping it. Factual doll data comes from the community IOP Wiki (iopwiki.com), licensed CC BY-SA 3.0, rewritten in our own words, plus the public-domain gfl2-team-builder data repository. Full copyright & licensing detail — including the third-party material used under an open licence — is at loadoutgg.com/legal.